





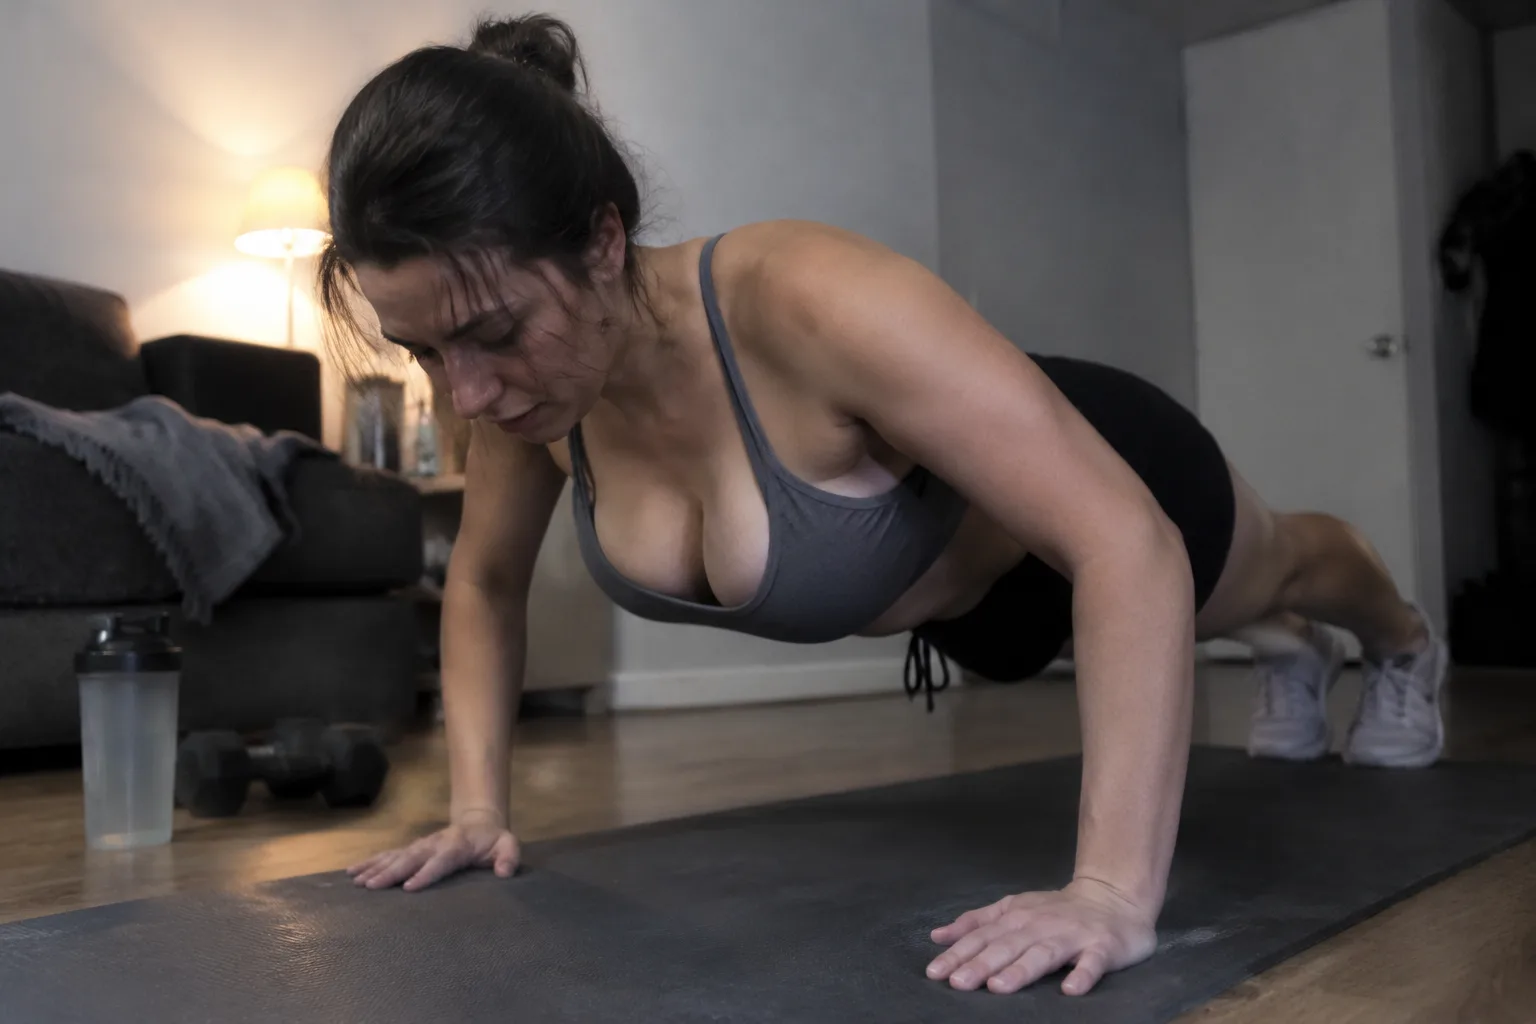
The push-up looks like the simplest exercise in the gym and behaves like the most honest one. A person lowers their chest toward the floor, presses back up, and repeats. No machine, no cable, no seat adjustment. That absence of equipment is exactly what makes the movement unforgiving: there is nothing to hide behind, and every flaw in setup shows up in the first ten repetitions. Beginners tend to treat the push-up as a strength test when it is really a coordination test first. The arms will do what the shoulders and trunk allow, and no amount of effort in the triceps compensates for a spine that sags or a head that drops.
The most common beginner error is not weakness. It is the habit of starting on the toes before the body can hold a straight line from crown to heel. A person who cannot plank for thirty seconds without the hips dipping has no business loading that same shape with a press. The fix is unglamorous: elevate the hands. Kitchen counter, sturdy table, a low wall in a park. The higher the surface, the lighter the load, and the easier it becomes to feel what a rigid trunk actually means.
Why the Hands Sit Wider Than the Shoulders
Watch a beginner set up and the hands usually land somewhere near the ears, or so wide the elbows flare to ninety degrees. Both extremes punish the shoulder joint. The working position puts the hands slightly wider than the shoulders, roughly under the crease of the chest when the body is lowered, with the fingers spread and the middle finger pointing forward. A small outward rotation of the hands, as if screwing the palms into the floor, helps the shoulders settle into their sockets before the first rep begins.
Elbow angle matters more than most beginners realize. The elbows should track back at roughly forty-five degrees from the torso, not straight out to the sides like a bird's wings and not pinned tight against the ribs. That middle path keeps the shoulder in a strong position and spreads the work across the chest and triceps rather than dumping it all onto the front of the joint. A simple test: at the bottom of the rep, the upper arms should form a rough arrowhead with the torso, not a T.
The Sagging Hip and the Piked Hip
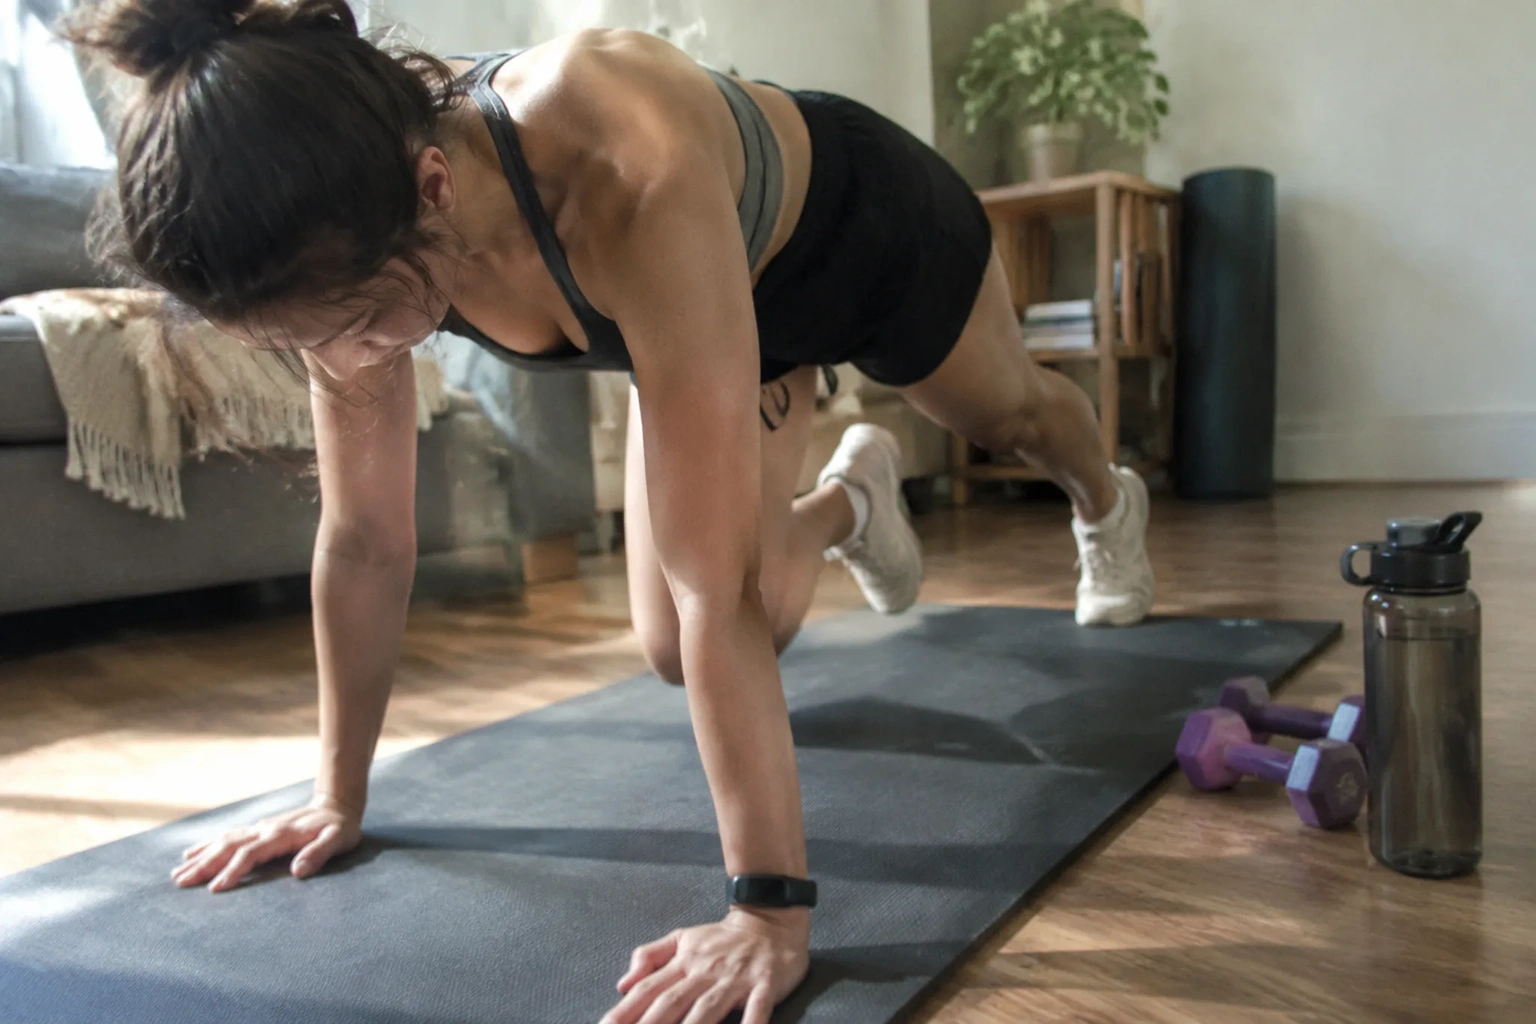
Two shapes appear again and again in beginner push-ups, and they are opposites. The sagging hip comes from a trunk that has given up; the lower back arches toward the floor, the belly drops, and the press becomes a lower-back exercise. The piked hip is the overcorrection: the butt lifts high, the chest drops toward the floor, and the movement turns into a downward dog with arm bends. Both feel like push-ups. Neither is one.
The cure for both is the same, and it starts before the first rep. Squeeze the glutes and brace the abdomen as if bracing for a light punch. The pelvis tucks slightly under, ribs stack over hips, and the whole body becomes one long lever. That bracing has to survive the entire rep, which is why slow repetitions beat fast ones for beginners. A three-second descent gives the trunk time to register whether it is still holding.
Where the Head Goes
The neck is the quiet casualty of bad push-up form. Beginners crane the chin forward to peer at the floor, or let the head hang between the shoulders as the chest drops. Both strain the cervical spine. The neutral position keeps the ears in line with the shoulders, eyes fixed on a spot on the floor about a foot ahead of the hands. As the chest lowers, the head travels with it as a unit, not ahead of it.
A useful cue for the whole body: imagine a broomstick taped along the spine from the back of the head to the tailbone. It should touch at three points, the head, the upper back, and the sacrum, and stay in contact through every inch of the movement. When the head drops or the hips sag, the imaginary stick loses contact. That mental image does more for beginner form than a dozen verbal corrections.
Range of Motion: Chest to Fist, Not Chest to Floor
The bottom of the push-up is a place where beginners cheat without knowing it. The chest hovers a hand's width above the floor, the elbows bend to maybe seventy degrees, and the rep gets counted. Full range means the chest lowers to roughly a fist's height from the ground, with the upper arms parallel to the floor at the bottom. Anything short of that is a partial rep, and partial reps train a partial movement.
The top has its own cheat. Beginners often lock the elbows hard and let the shoulders shrug toward the ears, which shifts the load from the chest onto the joints. The top position should have the arms straight but not rigid, with the shoulder blades allowed to spread slightly apart, and the chest still proud rather than collapsed. A small push at the top, as if pressing the floor away rather than lifting the body up, keeps the shoulders in a healthy position.
The Case for the Incline First
There is no shame in the incline push-up, and there is a strong argument that every beginner should live there for the first month. Hands on a counter or a sturdy box at hip height, body in a rigid line, full range of motion, slow tempo. The movement pattern gets grooved without the shoulder and lower back paying for a strength deficit. As the reps get easy, the surface gets lower: counter, then table, then bench, then floor. This progression is the closest thing the push-up has to a dial.
The floor is the goal, not the starting line. A beginner who grinds out three ugly floor push-ups with a sagging back and a craned neck would be better served by ten clean reps on a kitchen counter. The body learns the pattern it practices, and practicing a broken pattern just makes the break permanent. Ego is the enemy here, and the kitchen counter is the humbler, faster path.
Breathing That Survives the Set
Most beginners hold their breath at the bottom of the push-up, which is why the face reddens and the set ends early. The pattern is simple: inhale on the way down, exhale on the way up. The exhale should be audible enough to confirm it happened. Bracing the trunk and breathing at the same time takes practice, and the slower tempo helps. A person who can breathe through a set of ten has a trunk that is actually working.
There is a subtler breathing trap: the shallow chest breath. Beginners often breathe high into the shoulders, which lifts the ribcage and breaks the plank line. The breath should travel into the belly and the sides of the ribs, keeping the trunk braced. A quick check: place a hand on the lower ribs and feel whether they expand sideways during the inhale. If the shoulders rise instead, the breath is in the wrong place.
Wrist Discomfort and the Small Fixes
Flat palms on a hard floor bother plenty of beginners, especially those who spend their days typing. The wrist extends to nearly ninety degrees, and the joint complains. A few fixes cost nothing. Push-up handles or dumbbells raise the hands and reduce the wrist angle. A folded towel under the heel of the hand softens the pressure. Or the hands can be turned slightly outward, which takes some strain off the wrist flexors. None of these are cheating; they are adjustments that let the movement continue while the wrists adapt.
Finger position deserves a mention too. Beginners often let the fingers curl under or splay loosely. Pressing through the fingertips, as if gripping the floor, activates the forearms and gives the shoulder a more stable base. It sounds like a small thing. It changes how the whole upper body feels during the press, and it is the kind of detail that separates a push-up that builds strength from one that just accumulates reps.
How Many Reps, and When to Stop
Beginner push-up programming gets overcomplicated. Three to five sets of five to twelve clean reps, two or three times a week, with a rest day between sessions, is enough to build the pattern and the strength. The last rep of every set should look like the first. When form breaks, the set is over, regardless of the number on the plan. A set of eight clean reps beats a set of fifteen where the last seven are a sagging mess.
Progression comes in two directions. More reps at the same incline, or the same reps at a lower incline. Beginners should exhaust the first before chasing the second. The jump from counter to floor is larger than it looks, and rushing it is how form collapses. A person who can do three sets of twelve on a hip-height counter is ready for a bench. A person who can do three sets of twelve on a bench is ready for the floor. The floor will still be there.
The Mirror Is Lying at Floor Level
Checking form in a mirror during push-ups is nearly useless, because the head has to turn to see anything and the turn breaks the neck position. Better to film a set from the side with a phone propped against a water bottle. The camera catches what the body cannot feel: the hip that sags on rep six, the head that drops on rep nine, the elbows that flare when fatigue sets in. Thirty seconds of footage is worth more than a month of guessing.
What the footage usually reveals is that fatigue arrives earlier than expected and changes the shape before the muscles actually fail. The trunk gives out first, the hips drop, and the arms keep pressing. That is the moment to end the set. A beginner who learns to stop at the first sign of shape change will progress faster than one who pushes through, because the clean reps are the ones that build the pattern the body will keep.
Push-up form is a set of small decisions made before the first rep and defended through the last. Hands slightly wide, elbows at forty-five, glutes tight, ribs down, head neutral, chest to a fist from the floor. None of these are difficult individually. Holding all of them at once while the chest burns is the actual skill, and it is a skill that transfers to every other pressing movement a beginner will ever learn. The push-up is not a test of how many. It is a rehearsal for how well.